Sunday, January 30, 2011

Irresistible Valentine

Tut was done by Artmama.
I had a lot of fun making this tag.  I think it came out gorgeous!  Link is under the picture to go to the tut.


Friday, August 27, 2010

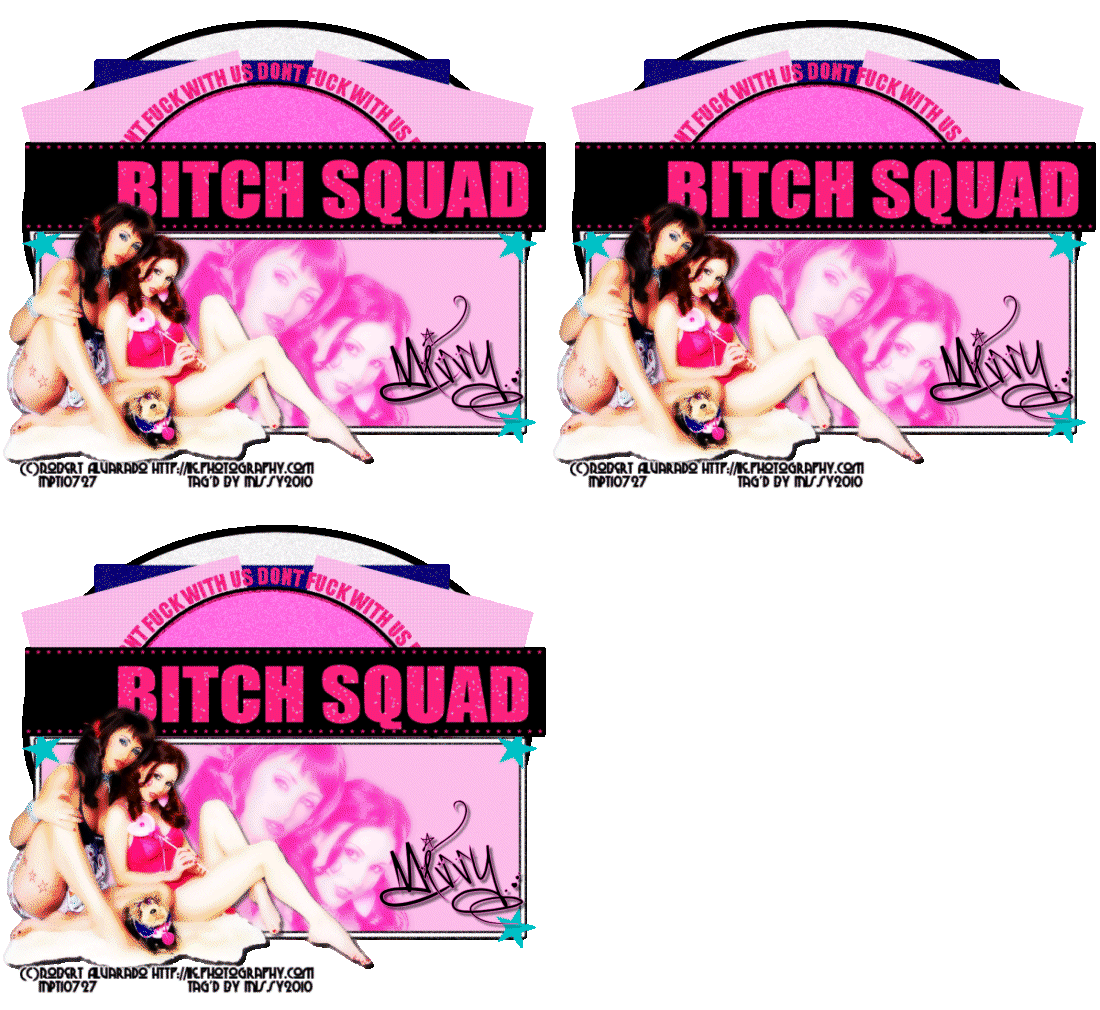
Bitch Squad (no scraps)


What you need:::

Working knowledge of PSP & Animation Shop.
I used a tube by Robert Alvarado at MPT,  You MUST have a license to use his art!
The template used was Bitch Squad by  CrazyCakesScraps.  Leave some love if you download!
Font used was sick capital vice by dafont.com

Plug-in used was Xero - Frittilary & Sparkles

Make sure to save often!


Design:::

Open up template.  Copy (shift+D) and delete original.
Delete copyright
Hide starline1, starline2, wordart, frontrect
rectangle - select all, float, defloat, new raster, flood fill color from tube
Copy close up tube and paste over new raster
move and place where wanted, invert, delete, select none (delete original rectangle)
duplicate, gaussian blur 4 top layer, overlay blend
soft light blend to original layer
circle -  select all, float, defloat, new raster, flood fill with color from tube, invert, delete, select none screen blend (delete original circle)
circle2 - select all, float, defloat, add noise, select none
circle3 - apply dropshadow
new raster layer, flood fill with color from tube, go to words layer, sa, f, df, go to raster and invert, delete, select none
Add noise (delete original words layer)
hide anotherrectangle
righsq - select all, float, defloat, new layer, flood fill same color as above, plugin xero-fritillery, select none (delete original rightsq)
leftsq - repeat
backrect - select all, float, defloat, new layer, flood fill other color from tube, add noise, select none
front oval- select all, float, defloat, add noise, select none
Click top layer and paste smaller tube.  Position as desired. duplicate, gaussian blbur 4 top tube, overlay blend
dropshadow bottom tube
merge together
hide this layer for now
unhide the other layers you did earlier
Merge starlines together - new raster and flood fill with a third color from tube
go to starlines layer - select all, float, defloat, invert on flood layer, delete, select none (delete original starlines)
wordart - select all, float, defloat, new raster, flood fill with a color from tube as desired, select none (delete orignal wordart)
merge down new starlines layer to frontrect
Position merged layer and new word art layer on template
unhide tube
add license info and name as desired
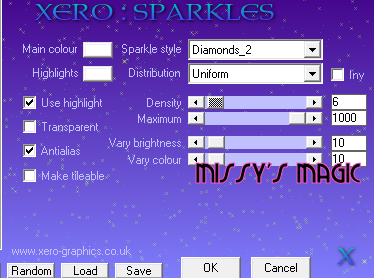
go back to the bitch squad wording.  select all, float, defloat, apply xero- sparkles with following settings.  


deselect, copy merged
paste as new image in animation.  Go back and revert back and apply sparkles moving up in density by 1, deselect, copy merged
paste after frame, repeat moving up one more in density. (I used 5,6,7 - but you can use what you feel is better)
Make any size adjustments as needed

save as a .gif

This tutorial was written on August 26, 2010. The concept of this tutorial are copyrighted.  You may LINK to the tutorial and/or print it out for personal use.  Please do not copy any of it to put online, pass out or re-write without permission.  The image you create from the tutorial is for you to do what you wish except for monetary gains or for merchandising.  Any resemblance to another tutorial is purely coincidental.


Thursday, August 12, 2010

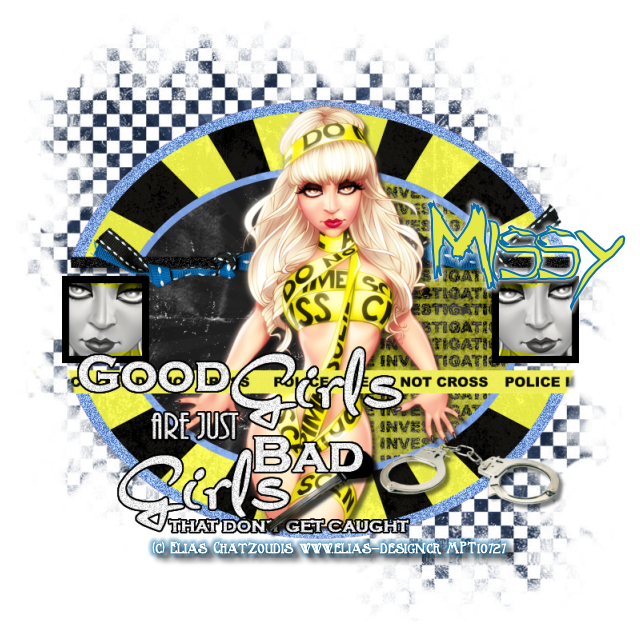
Crime Scene (PTU)


What you need:::

Working knowledge of PSP.
I used a tube by Elias Chatzoudis found HERE,  You MUST have a license to use his art!
The kit is PTU CSI- New Case by Candy Treats found HERE
The template used was Good Girls found at Blissfully Beth HERE.  Leave some love if you download!
Mask used was Kristin Lines&Grids Mask 5 found at Creative Misfits HERE.  Leave some love if you download!
Font used was Angry Blue found at dafont.com HERE
Plug-in used was Eye Candy 4000 – Gradient Glow

Make sure to save often!


Design:::

Open up the template.  Copy it (shift+D).  Close the original.
Resize the canvas if needed.
Hide the word art and word art bg for now.
RT SQ BG- sa, f, df, paste paper11 as new layer, invert, delete, none.  clear out original
Repeat for LT SQ BG
Use magic wand to click inside of rt square.  paste close up of tube and position.  Invert, delete, none. Select Luminance (Legacy)  Duplicate and mirror.
Black stripes - sa, f, df, add noise (60%, uniform, monochrome checked) select none, dropshadow
white oval frame - sa, f, df, paste paper5 as new layer,invert, delete, none.  clear out original
dk gray - sa, f, df, paste ct paper4 as new layer, invert, delete, none.  clear out original
pruple half circle- sa, f, df, paste paper14 as new layer, invert, delete, none.  clear out original
gray half ovals- sa, f, df, paste paper11 as new layer, invert, delete, none.  clear out original
PBG - sa, f, df, paste csiblue5 as new layer, invert, delete, none, clear out original, adjust, add noise, same settings as above

click on top layer, paste tube and position as liked.  resize if needed
duplicate tube, gaussian blur 4, overlay top layer, dropshadow bottom
merge down so tube layers are together

ct-CSIblue9 paper - new mask layer, invert unchecked, merge group, paste as new layer and move above background

Add elements as needed:::
cuffs2 - resize 50%
policeline
brush - resize 40%
ribbon knot

unhide wordart and wordart bg, bring to top. 
word art- add noise, same settings as above

Add license info, name

Hide Background, merge visible

save as a .jpg or .png

THANK YOU FOR TRYING MY TUT! I LOOK FORWARD TO SEEING THE RESULTS!

-MISSY G. 2010

This tutorial was written on August 12, 2010. The concept of this tutorial are copyrighted.  You may LINK to the tutorial and/or print it out for personal use.  Please do not copy any of it to put online, pass out or re-write without permission.  The image you create from the tutorial is for you to do what you wish except for monetary gains or for merchandising.  Any resemblance to another tutorial is purely coincidental.

Thursday, August 5, 2010

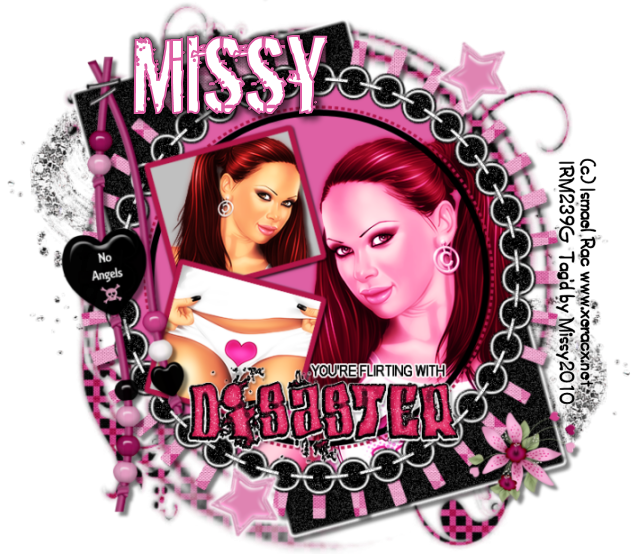
Stalker Disaster


What you need:::
Working knowledge of PSP. 
I used a tube by Ismael Rac found (LINK IS NO LONGER ACTIVE),  The Stalker tube is currently found for free, get it while it still is!  You MUST have a license to use his art!
The kit is No Angels by Lacarolita found HERE.  Leave some love if you download!
The template used was Flirting found at Dee'Sign Depot (LINK IS BROKEN AND NO LONGER ACTIVE).  Leave some love if you download!
Mask used was Ufmask20 found at Urban Fairytales HERE.  Leave some love if you download!
Font used was Dirty Ego found at dafont.com HERE
Plug-in used was Eye Candy 4000 – Gradient Glow

Design:::

COPY TEMPLATE (SHIFT + D).  DELETE ORIGINAL TEMPLATE
DELETE CREDITS – RESIZE CANVAS AS NEEDED
FILL IN BACKGROUND

PASTE PAPER 5 AS NEW RASTER LAYER, ABOVE BACKGROUND.  NEW MASK LAYER, UFMASK20 (INVERT CHECKED), MERGE GROUP.  RESIZE AS NEEDED.  DROPSHADOW

CLICK BOTTOM BLACK SQUARE LAYER, ADJUST – ADD NOISE (60, MONOCHROME CHECKED).  EYE CANDY 4000 GRADIENT GLOW (6, 25, 100) FAT, BLACK
DROPSHADOW (5, 5, 50, BLACK)

REPEAT FOR TOP BLACK SQUARE

CLICK GREY STRIPE BACKGROUND, SELECT ALL, FLOAT, DEFLOAT, PASTE PAPER 1 AS NEW LAYER, INVERT, DELETE, DROPSHADOW
DELETE ORIGINAL LAYER

CLICK BOTTOM SQUARE BLACKGROUND, SELECT ALL, FLOAT, DEFLOAT, PASTE TUBE.  POSITION AS LIKED, INVERT, DELETE.  DUPLICATE TUBE, GAUSSIAN BLUR 3, OVERLAY TOP TUBE LAYER, DROPSHADOW ON BOTTOM.

REPEAT FOR TOP SQUARE BLACKGROUND

CLICK LARGE WHITE CIRCLE, SELECT ALL, FLOAT, DEFLOAT, NEW RASTER LAYER.  FLOODFILL WITH COLOR OF CHOICE (#DE60A4), INVERT DELETE
DELETE ORIGINAL LAYER

GO BACK TO COLORED CIRCLE LAYER, SELECT ALL, FLOAT, DEFLOAT. PASTE TUBE CLOSEUP, POSITION AS LIKED, INVERT DELETE
DUPLICATE TUBE, GAUSSIAN BLUR 4
OVERLAY FOR TOP LAYER, LUMINANCE (LEGACY) FOR  BOTTOM LAYER

WORD ART LAYER, SELECT ALL, FLOAT, DEFLOAT, NEW RASTER LAYER, SELECTIONS, MODIFY, EXPAND 2, FLOOD FILL WHITE.  DELECT MOVE WHITE LAYER DOWN.  MERGE TWO LAYERS TOGETHER

ADD ELEMENTS AS WANTED:
BEADSTRING – RESIZE 60%
FLOWER2 – RESIZE 20%
SPLASH1 – RESIZE 70% (DUPLICATE, MIRROR, FLIP)
STAR1 –RESIZE 20% (ROTATE RIGHT 50, GRADIENT GLOW, MEDIUM WHITE) – DUPLICATE

ADD COPYRIGHT INFORMATION
ADD NAME, GRADIENT GLOW, THIN BLACK

SAVE AS A .JPG OR .PNG

THANK YOU FOR TRYING MY TUT! I LOOK FORWARD TO SEEING THE RESULTS!

-MISSY G. 2010


This tutorial was written on August 5, 2010. The concept of this tutorial are copyrighted.  You may LINK to the tutorial and/or print it out for personal use.  Please do not copy any of it to put online, pass out or re-write without permission.  The image you create from the tutorial is for you to do what you wish except for monetary gains or for merchandising.  Any resemblance to another tutorial is purely coincidental.